

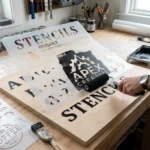
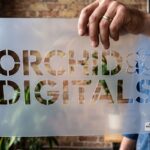
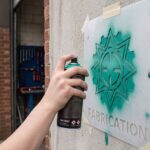
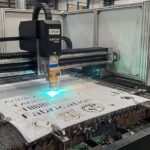
Your logo, lettering or serial numbers, laser-cut into a tough plastic stencil: tape it on, paint, lift, and repeat hundreds of times.
Minimum order ₹3,000 + GST · Free delivery across India
Custom paint stencils
You don't need the skills of a professional painter to put the same design on surface after surface, and you shouldn't have to pay one every time you do. When a business has to paint the same words, logo or markings again and again, a custom reusable stencil is the smart, low-cost answer.
Place the laser-cut template on the surface and apply spray paint or a brush: the cut-out areas let the paint through and the rest of the sheet protects the surface. Lift the stencil off and a clean copy of your design is left behind, on walls, metal, vehicles, drums or shipping crates.
Craft and hobby shops sell ready-made stencils, but only in generic patterns and fonts. They are no help when you need your own advertising message or company logo painted quickly and repeatedly across town. So we laser-cut stencils of exactly your text or design: a painting tool made for your business alone.

How it works
The idea is simple and very effective. Every stencil is a sheet with two kinds of space. The positive area is what the laser cuts away to make a see-through opening. The negative area is the solid sheet that stays behind and acts as a shield.
Imagine the letter "A" cut into a square plastic sheet. Spray over it and the paint covers both the plastic and the A-shaped opening. Lift the sheet and only the paint that went through the opening stays on the surface: a clean, crisp A, in seconds, with no freehand painting.
Because the polycarbonate is tough and easy to reposition, the stencil is fully reusable. You pay to make it once, then reproduce your logo, wording or message at location after location, with the same result every time.
The part laser-cut out of the sheet. Paint passes straight through it and lands on the surface in the exact shape and size of your design.
Material
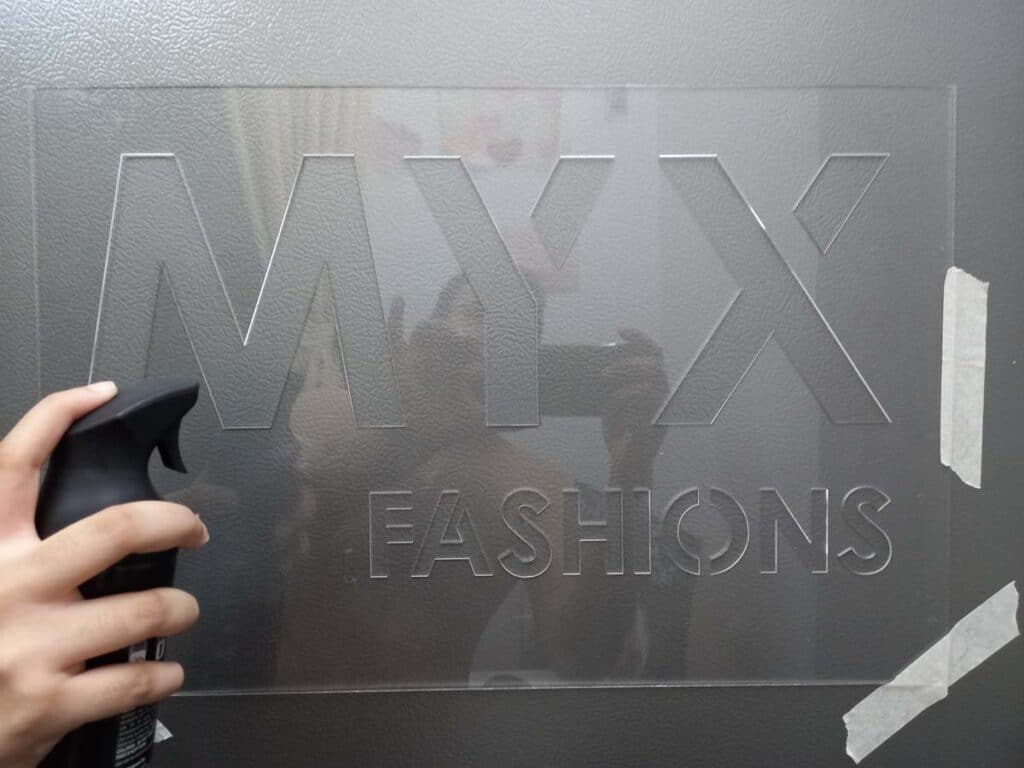
We make your stencil from 200-micron-thick polycarbonate sheet: tough like heavy-duty plastic, yet thin and flexible enough for almost any job. Your design file is loaded into our laser cutting program and a high-powered laser beam cuts it into the sheet with great accuracy.
The finished stencil is light and easy to handle. Lay it flat on a wall or door, or bend it around a curved object such as a drum, pipe or cylinder: that flexibility is why polycarbonate is our default recommendation and the most versatile stencil material we stock. It is tear-resistant and robust, so one stencil can reproduce your artwork hundreds of times.
Lies flat on walls, metal sheets and crates, and wraps around drums, pipes and cylinders.
Wash off the paint with soap water after each job and store the stencil for next time. Don't use solvent or thinner: it spoils the sheet.
What to expect
Polycarbonate stencils are at their best in high-volume, repetitive work where clear information matters more than perfect edges: marking crates, containers, vehicles and machinery.
When you paint fast, the inner edges of the cut-outs can lift slightly off the surface, and a little paint can creep under them. The edges of the painted letters may then look slightly soft. Painting slowly, in thin coats, keeps this to a minimum, and for most marking jobs it doesn't matter at all.
Our stencils are meant for bold letters, numbers and logos. They are not suited to very fine or detailed artwork, such as tattoo designs or tiny text.
Need sharper edges? A single-use adhesive vinyl stencil sticks to the wall, so paint cannot creep underneath, and closed letters need no bridges (from ₹200 per sq ft + GST; peel and discard after one use). For flat surfaces only, a rigid 2 mm transparent acrylic stencil is also available (₹800 per sq ft + GST). And for a logo on an office wall that has to look perfect, laser-cut acrylic letters fixed on the wall are the better choice.
Compare all three stencil materials → See acrylic logo letters fixed on the wall →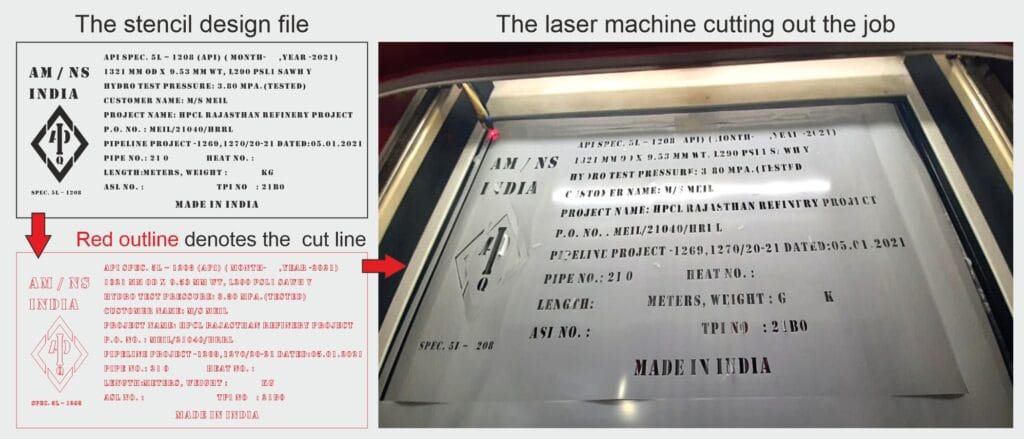
How it's made
Every stencil is cut on our industrial laser cutting machines, which are both powerful and precise. We only need three things: your design, the material, and the machine time.
1
Email your design as a vector file (AI, CDR, EPS, SVG or a vector PDF) with the size you need.
2
We check the outlines and bridges, lay out the cut lines and send you a proof on WhatsApp.
3
You approve the proof and pay through the link we send; production starts once payment is received.
4
The laser cuts your design into 200-micron polycarbonate along the vector paths.
5
We check the stencil, pack it flat and deliver it, ready to use.
We set your artwork up for cutting, but we don't create designs from scratch. If you need a logo or layout drawn, we can recommend a designer in Pune.
Artwork
A stencil works best for flat artwork with clear outlines and solid inner areas: letters, words, numbers and clipart-style logos. Text such as "ABCD" or a company name converts perfectly, because the laser can follow each letter's edge exactly.
Photographs, bitmaps and halftone images cannot be made into stencils. A photo of a face is built from gradients and shading, not outlines, so there is nothing for the laser to follow.
Create your artwork in vector software such as Adobe Illustrator or CorelDRAW, so the file holds clean paths for the laser.
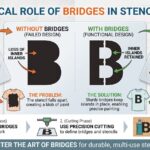
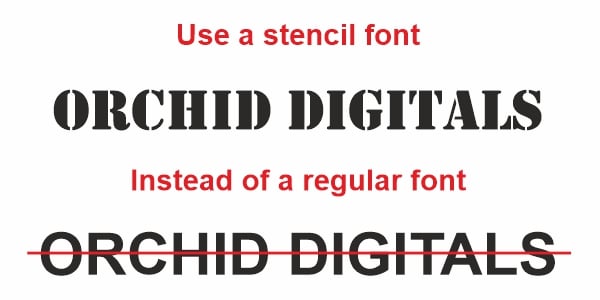
Letters with closed loops (O, D, R, P, Q, B) need bridges that hold their inner islands to the sheet.

Bridges and islands
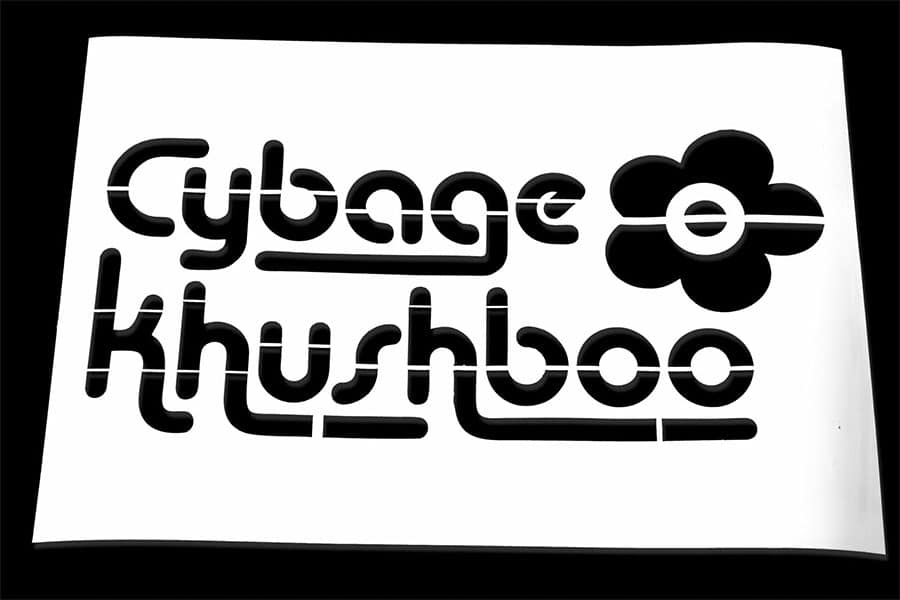
Bridges are the thin strips of sheet that join the parts of a stencil together. Without them, the inner parts of a letter would fall out when it is cut, and your lettering would turn into shapeless outlines.
Take the letter "O". Cut only along its inner and outer edges and the middle piece drops out: paint over it and you get a solid blob, not an O. To keep the letter's shape, the inner island must be connected to the rest of the sheet by bridges. The same is true for every closed letter and symbol, such as O, D, R, P, Q and B.
Design software lets you draw bridges yourself, but the quickest route is a stencil font, where the gaps are already designed in. When we set up your file, we check the bridges and point out any island that would fall out.

How to use it
Using the stencil is simple: position it, paint over it with a spray or a brush, and lift it off to reveal your design. Because the sheet is tough and reusable, you can repeat this at as many locations as you like. A few habits make the difference between an acceptable result and a crisp one, and help you avoid paint bleeding under the edges (every stenciller's curse) and trouble on corners and curved surfaces.
The stencil has no adhesive of its own, so tape it down. A stencil that moves mid-spray ruins the job; tape still lets you reposition it cleanly.
A light coat of repositionable stencil adhesive on the back holds the sheet flush and seals out bleeding. Re-mist it when it loses tack. It is sold in craft stores and online.
1
Place the stencil on the clean, dry surface and hold it firmly with painter's tape (for example Abro masking tape).
2
Spray or dab the paint over the cut-outs in light, even coats rather than one heavy coat.
3
Wait a few seconds for the paint to set, then peel the stencil away cleanly.
4
Wipe or wash the stencil with soap water, dry it, and position it for the next application.
Big jobs too
Stencils are not only for small markings. For one of our largest jobs, we laser-cut stencil tiles in Pune for a client's name with letters 15 to 20 feet tall and an overall width of more than 300 feet. The tiles were assembled on site in Visakhapatnam, on a crane hanging 260 feet in the air, and painters sprayed the name over them.
Large designs are cut in sections that fit our machines and line up on site. Tell us the size of the wall, vehicle or structure and we will plan the layout with you.
Good to know
Polycarbonate stencils cost ₹500 per sq ft + 18% GST. Our minimum order value is ₹3,000 + GST: a 3 x 2 ft stencil (6 sq ft) reaches it on its own.
Need smaller stencils? Several designs can be laid out on one sheet, as long as the order reaches the minimum. Enter your size in the calculator above, or message us for smaller layouts.
Laser cutting is quick. Typically allow a couple of days after artwork approval and payment, plus delivery time. Rush jobs can be moved up the queue when the schedule allows, but we don't promise dates.
Delivery is free across India. In Pune our team hand-delivers, usually within 2-3 days; outstation parcels go by surface courier, typically 3-5 working days to metro cities and 5-7 elsewhere. In a hurry? Collect from our shop in Shaniwar Peth, Pune.
Applications
Stencils are made for high-volume, repetitive painting. They let anyone reproduce or touch up text, logos and slogans quickly, without an artist. Our clients use them for:
Serial numbers, item codes and consignment details on wooden crates, pallets and containers.
Promotional messages and large logos painted straight onto walls, inside and out.
Serial numbers and part data painted on machines used in heat, weather or high-pressure washing, where stickers would peel.
Bay numbers, directions and safety text on walls and equipment.
File guidelines
A clean vector file is all we need to cut your stencil accurately:
A 3 x 2 ft stencil should be a 3 x 2 ft artboard. Tell us if you want several designs laid out on one sheet.
Use a stencil font or draw bridges on closed letters; we check them before cutting.
AI
CDR
EPS
SVG
PDF (vector)
FAQs
Our minimum order value is ₹3,000 + GST. At ₹500 per sq ft, a 3 x 2 ft polycarbonate stencil reaches it on its own; smaller stencils are fine when several are laid out together to reach the total.
Yes. You can lay out several designs or artworks on one large stencil sheet, as long as the order total reaches ₹3,000 + GST.
Hundreds of times with normal care. After each job, wash the paint off with soap water and store the stencil flat. Don't use solvent or thinner: it spoils the sheet.
Yes. The 200-micron polycarbonate is flexible, so it wraps around drums, pipes and cylinders as well as lying flat on walls and crates.
No. Our stencils are for bold letters, numbers and logos, such as marking crates, vehicles, pipes and walls. They are not suited to fine detail such as tattoo designs or tiny text.
When you paint fast, the inner edges of the cut-outs can lift and let a little paint creep under. Tape the stencil down, paint in thin coats or use a stencil adhesive spray. For the sharpest edges, choose a single-use adhesive vinyl stencil.
Yes. Single-use adhesive vinyl stencils cost from ₹200 per sq ft + GST and give the sharpest edges on walls. Rigid 2 mm acrylic stencils, for flat surfaces only, cost ₹800 per sq ft + GST. Message us with your design.
A vector file created in software such as CorelDRAW or Adobe Illustrator (AI, CDR, EPS, SVG or a vector PDF). Photos, bitmaps and halftones cannot be cut. We set the file up for cutting but don't design from scratch.
No. We cut stencils only from the materials we stock (polycarbonate, acrylic and adhesive vinyl), so we can stand behind the result.
Typically a couple of days after artwork approval and payment, plus delivery time; we don't promise dates. Delivery is free across India, or collect from our shop in Pune if you are in a hurry.
Production starts once payment is received through the pay link we send (UPI or NEFT/RTGS). All prices exclude 18% GST, shown separately on the invoice; give us your GSTIN for input credit.
At a glance
Material
200-micron flexible polycarbonate sheet
Properties
Tough, lightweight, tear-resistant, flexible
Manufacturing
Industrial laser cutting along the vector paths of your design
Reusability
Reusable hundreds of times; clean with soap water (no solvent or thinner)
Surfaces
Flat surfaces and curved objects (drums, pipes, cylinders)
Size
Custom size; enter width and height in the calculator; large designs cut in sections
Price
₹500 per sq ft + 18% GST
Minimum order
₹3,000 + GST per order (e.g. one 3 x 2 ft stencil); several designs can share one sheet
Artwork
Vector files only (AI, CDR, EPS, SVG, vector PDF); no photos, bitmaps or halftones
Design rules
Solid shapes with clear outlines; bridges on closed letters (O, D, R, P, Q, B) or a stencil font
Accessories (not included)
Painter's tape (e.g. Abro), stencil brushes or spray paint, repositionable stencil adhesive spray
Best for
Bold letters, numbers and logos; not for fine or detailed artwork
Paints
Spray paint or brush-applied paint
Typical lead time
A couple of days after artwork approval and payment, plus delivery (typical, not a promise)
Delivery
Free across India; Pune hand delivery 2-3 days, outstation surface courier 3-7 working days; urgent jobs collected from the shop
Other materials
Single-use adhesive vinyl (from ₹200 per sq ft + GST) and rigid 2 mm acrylic (₹800 per sq ft + GST)
Ordering
1. Enter your size in the calculator above, or message us your design and sizes.
2. Send your vector artwork; we check it and send a proof on WhatsApp.
3. Pay through the link we send; production starts once payment is received.
4. We laser-cut, check and deliver your stencil.
Free across India. Pune: hand delivery in 2-3 days. Other cities: surface courier, 3-5 working days to metros, 5-7 elsewhere; tracking details are emailed at dispatch. Urgent? Collect from our shop, or send your own courier.
All prices exclude 18% GST, shown separately on the invoice. UPI and NEFT/RTGS accepted through the pay link. Share your GSTIN for input credit. The invoice states whether delivery is included or the job is collected at the shop.
Enter your size in the calculator for an instant price, or send us your artwork on WhatsApp for a quote.