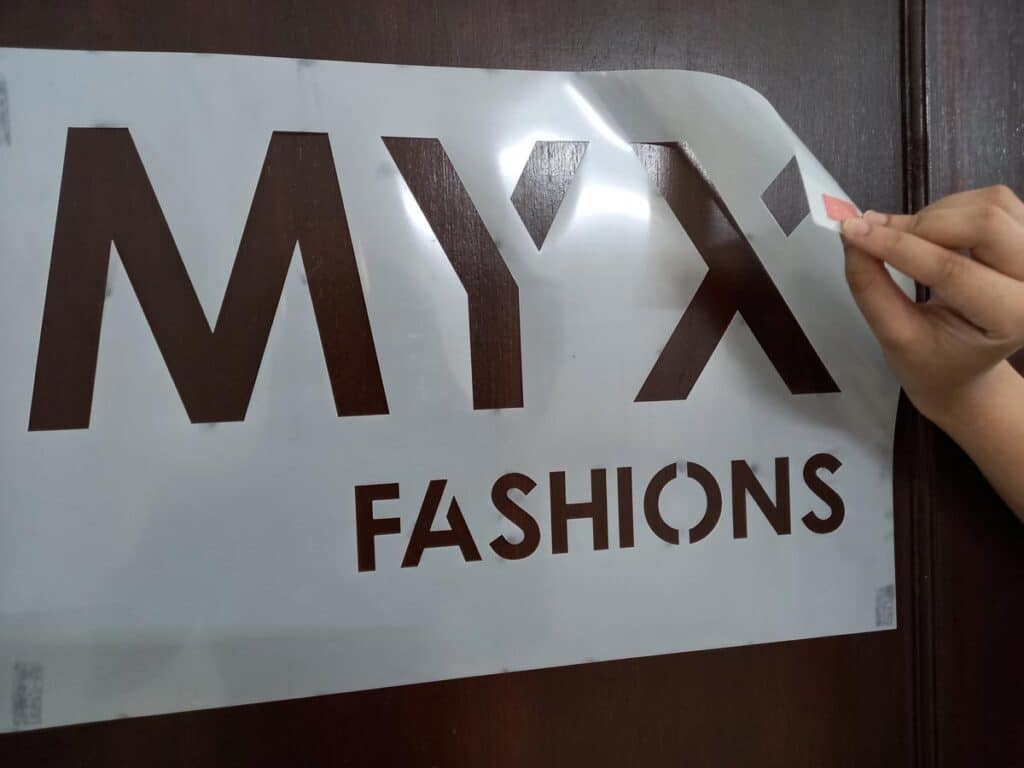
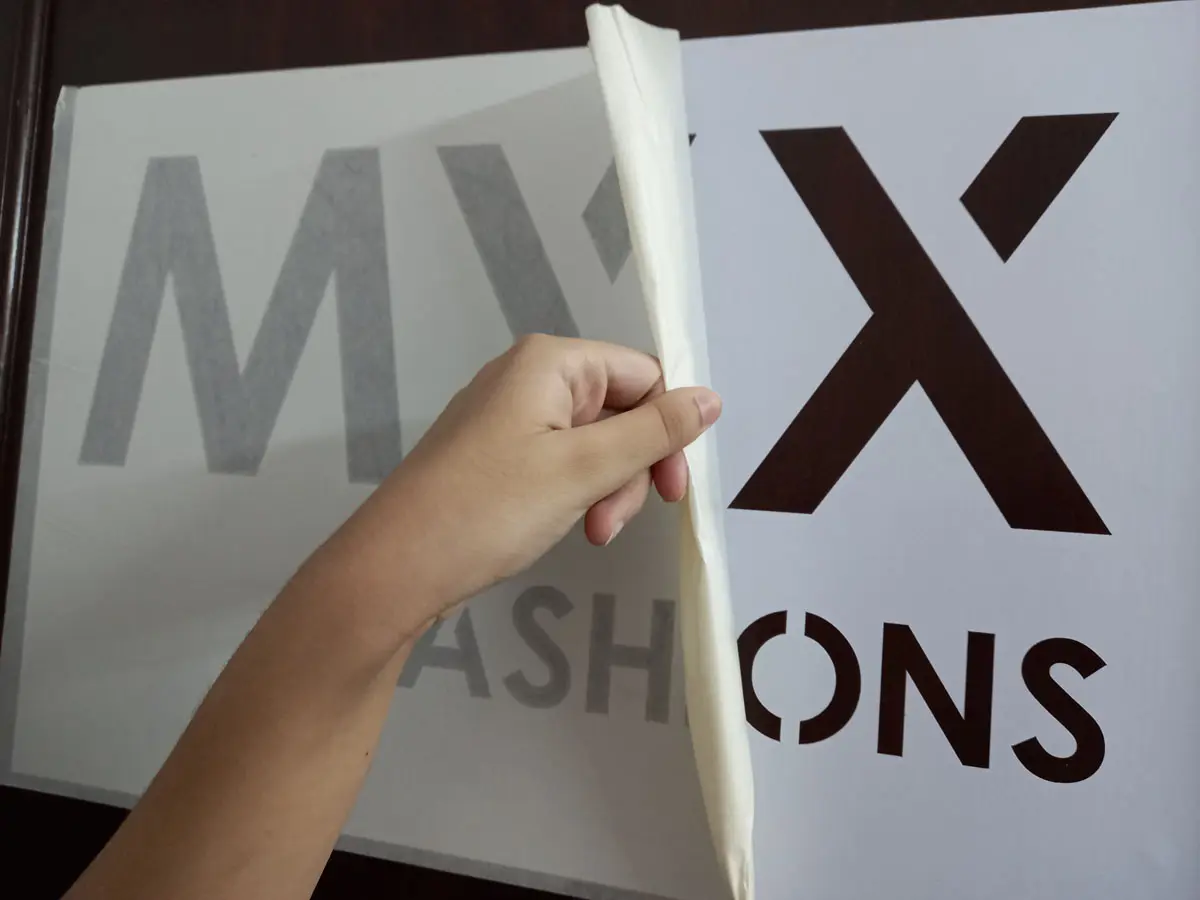
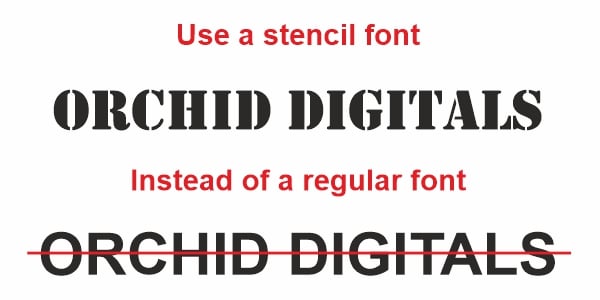
Reusable Plastic/Polycarbonate Sheet Stencils for Painting Letters and Logos
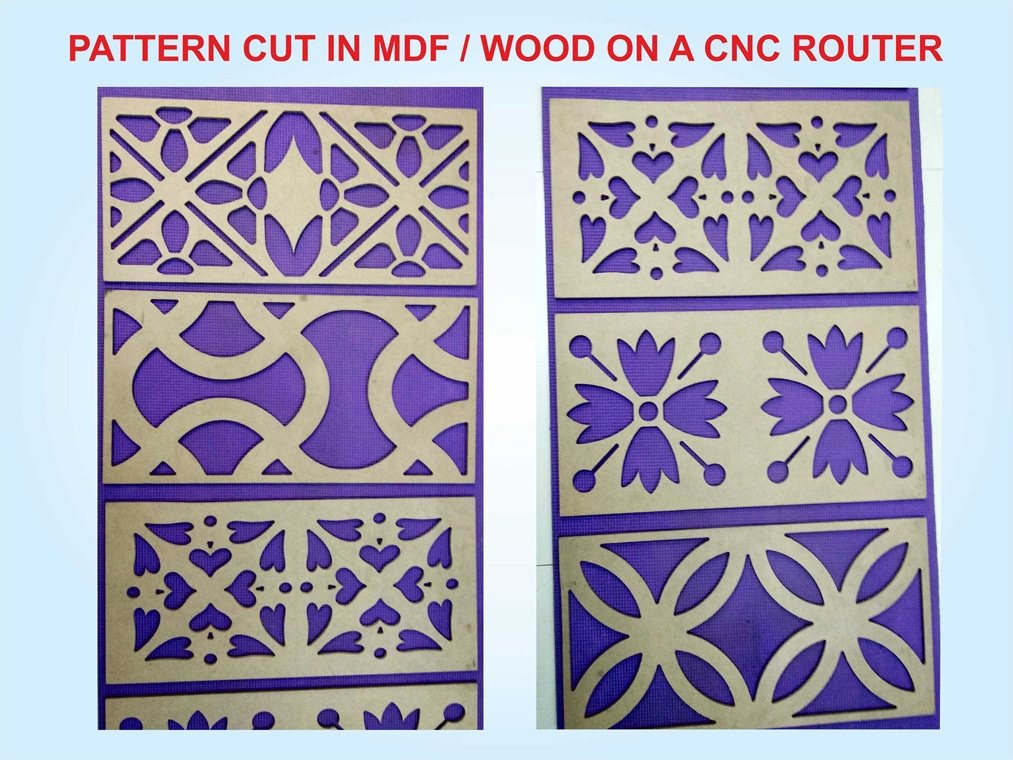
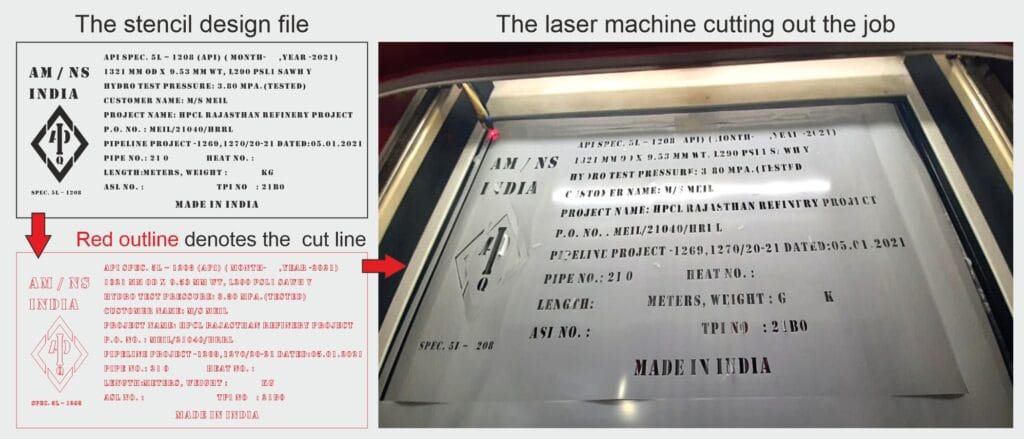
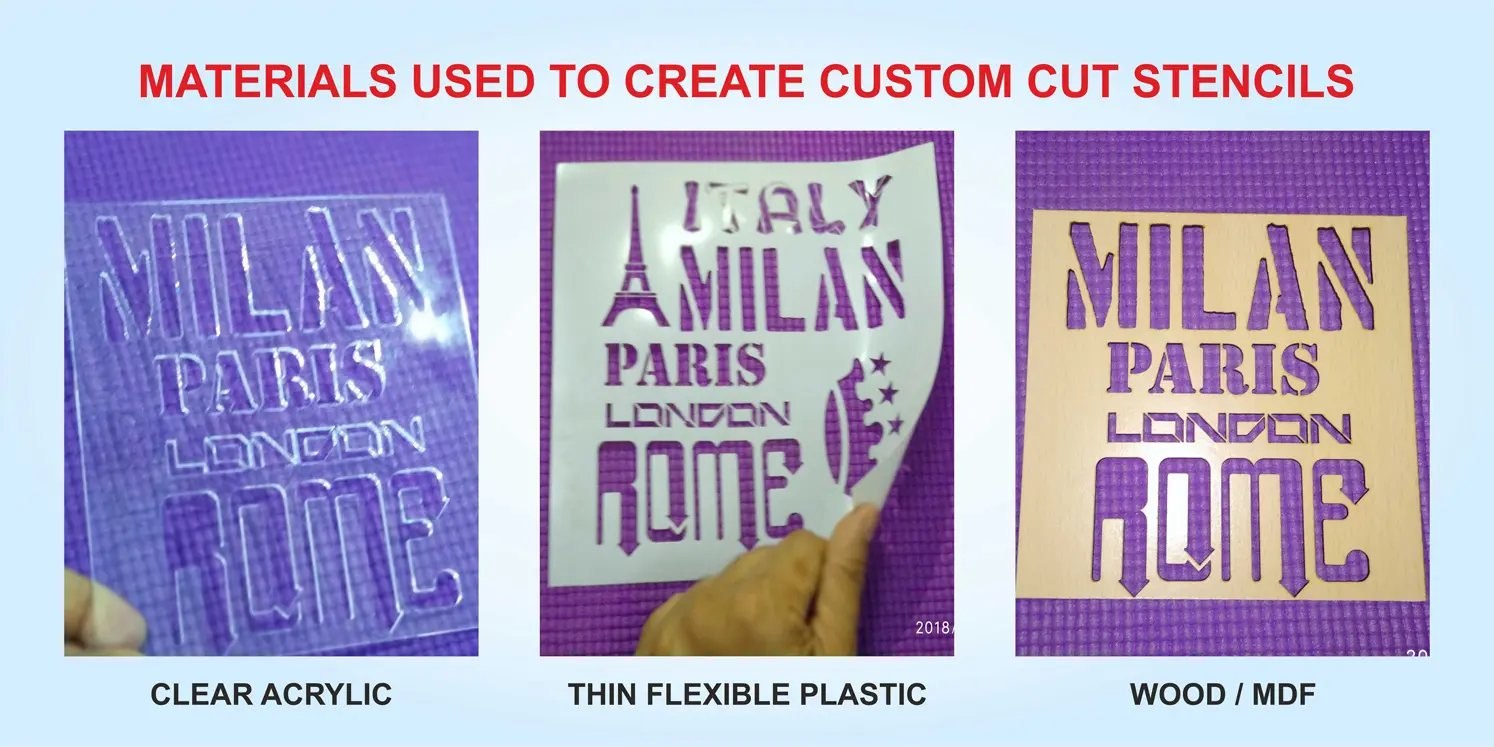
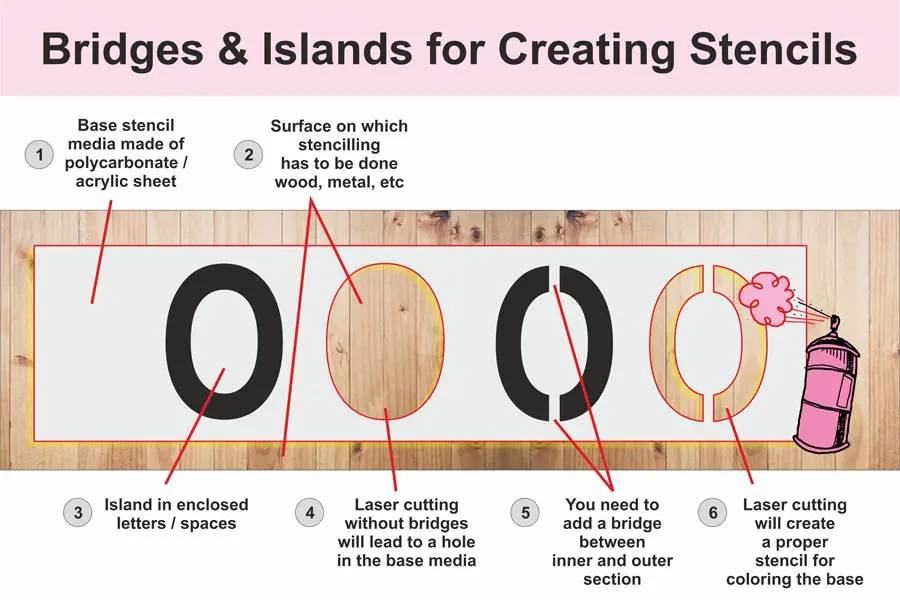
Streamline your high-volume branding with our ultra-durable, custom laser-cut 200-micron polycarbonate stencils, designed to perfectly recreate your specific brand logos, text, and graphics in seconds.
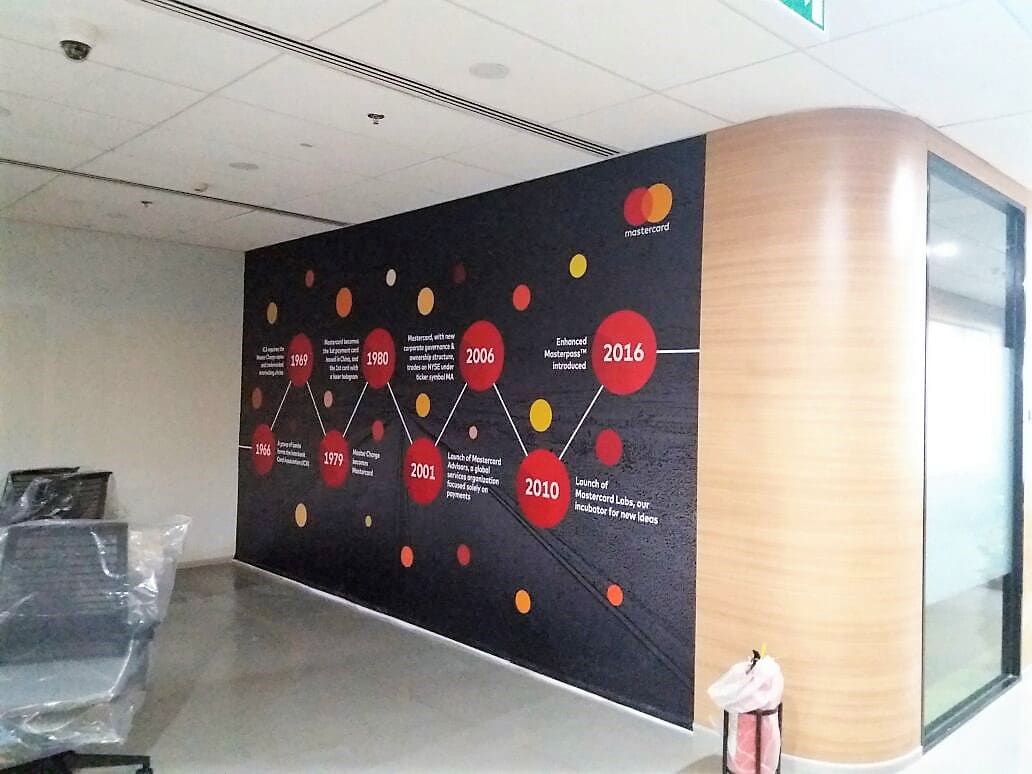
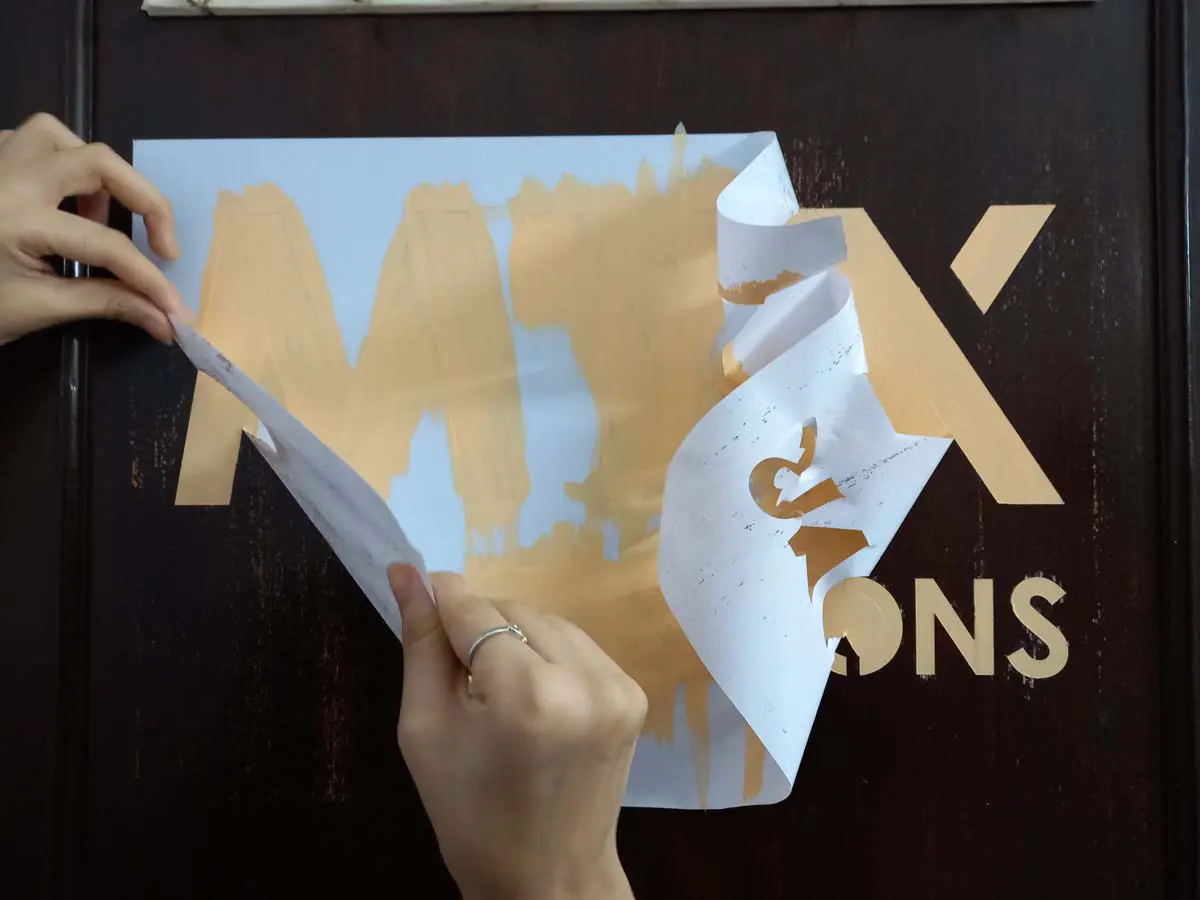
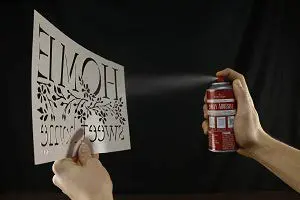
This heavy-duty yet flexible template wraps effortlessly around both flat and curved surfaces, providing an incredibly cost-effective, reusable solution that eliminates the need for expensive manual painting. It is the ultimate tool for rapid, consistent, and highly efficient industrial marking across walls, shipping crates, packaging, and commercial vehicles.
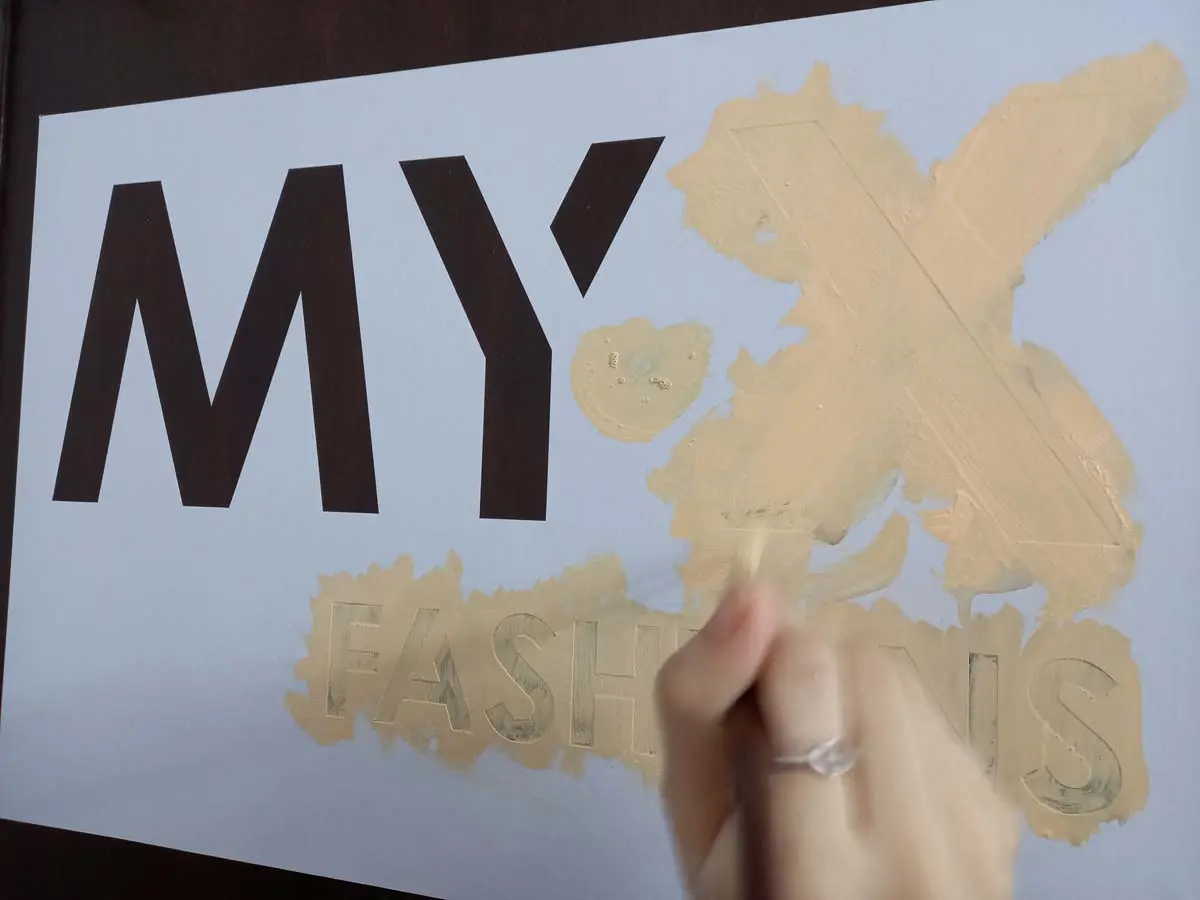
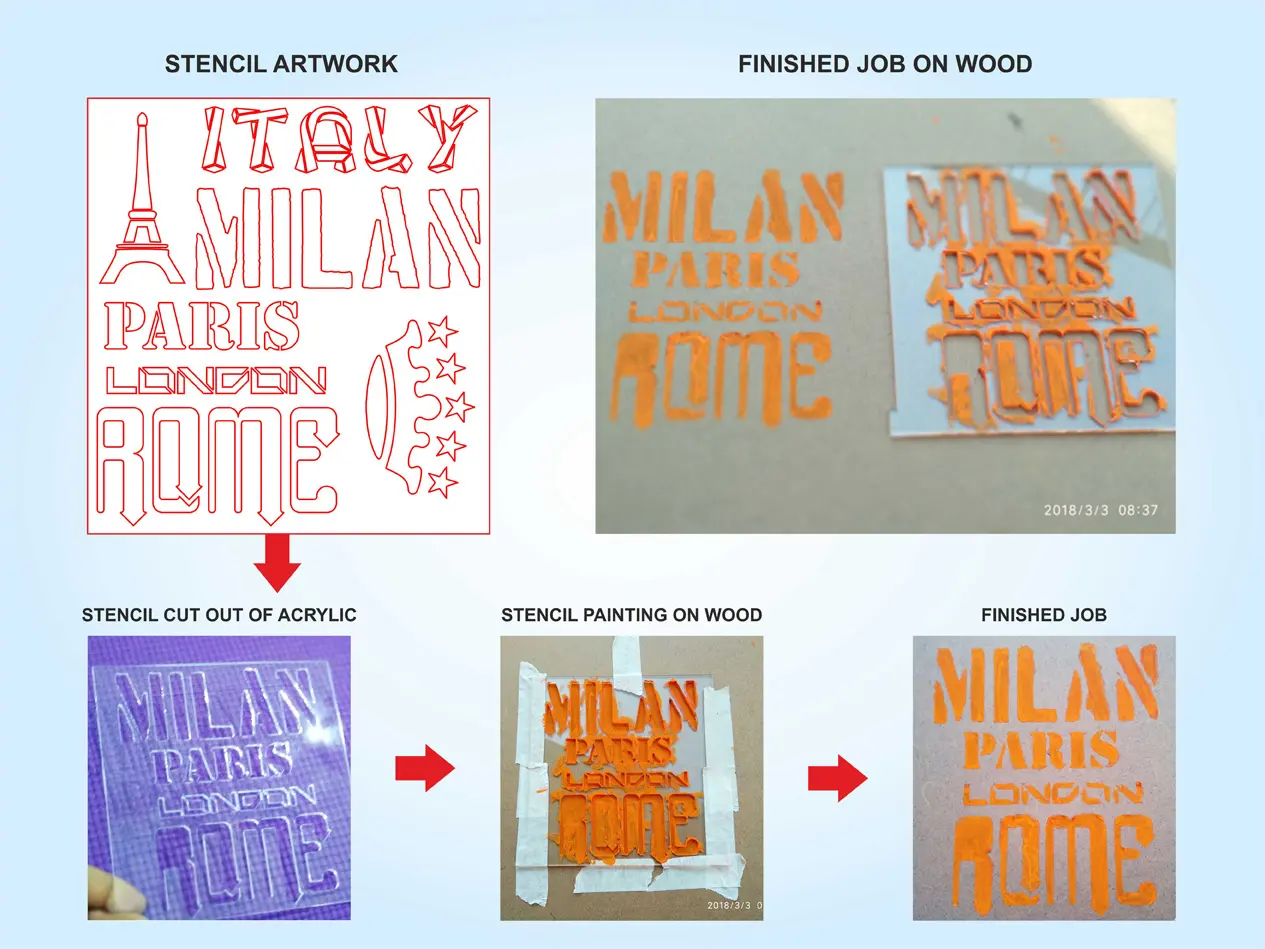
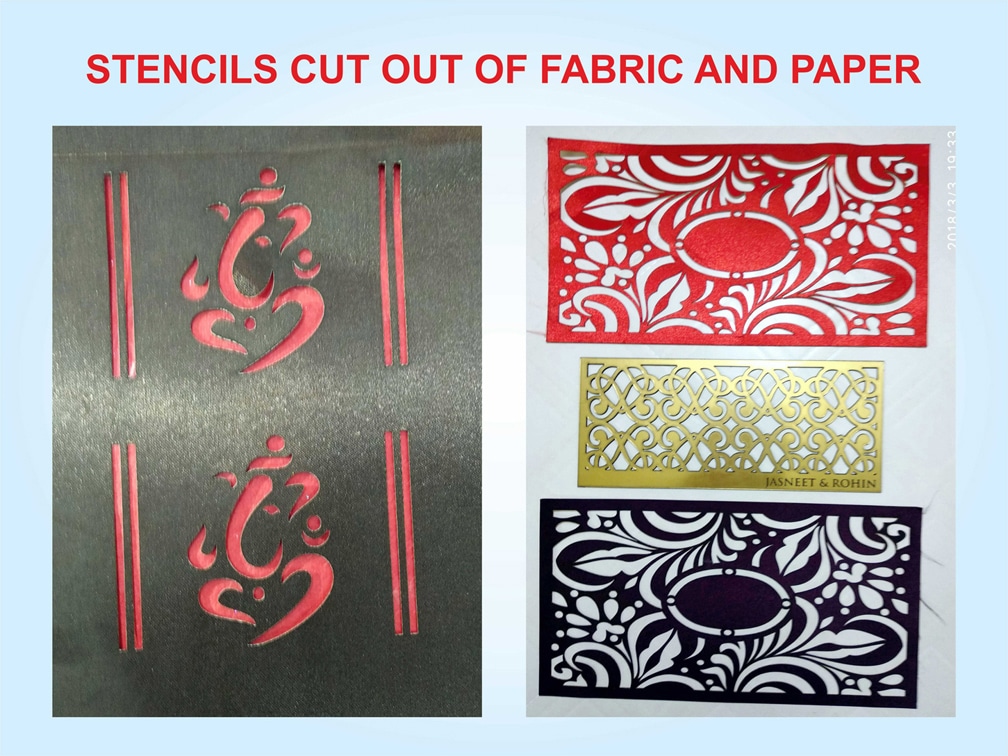
Effortlessly recreate words, letters, logos, or graphics with our laser-cut polycarbonate stencils. Crafted from durable, reusable plastic, these stencils let you simply position the template on any wall or flat surface and spray paint over it, making high-volume, repetitive painting and consistent branding remarkably easy.


Kiss-Cut Stickers
View Page →Acrylic Name Boards
View Page →